Whispering flower commentary
This article is a copy of a post I made on Tumblr. It was originally posted on May 23rd, 2025.
←← Take me back to the writings directory!
A strange flower that quietly promises great treasures... But only during panic mode... Bassie's whispering flower!
This trinket was a really interesting one to make, so I've included some extra commentary beneath the cut for anyone interested!
After making Glisten's mirror, I decided that if I was going to continue modelling the trinkets I would have to continue to make them as low poly as I could. The reason behind this is that, for rendering purposes, it's much easier to take a lower poly model and apply a subdivision modifier to it than it is to make a high poly model and retopologize it (like I did with Glisten's mirror). Given that the flower is decidedly much more organic than a mirror, trying to make it read as organic while also keeping the poly count down seemed... challenging. And it was! But I eventually figured it out.
It all started with interpreting the flower's design. The way the trinket is posed in-game doesn't reallllly do a good job of conveying how the flower is constructed. You can tell what it is, yes, but how the flowers are connected to each other (if they're even connected at all) is unclear.
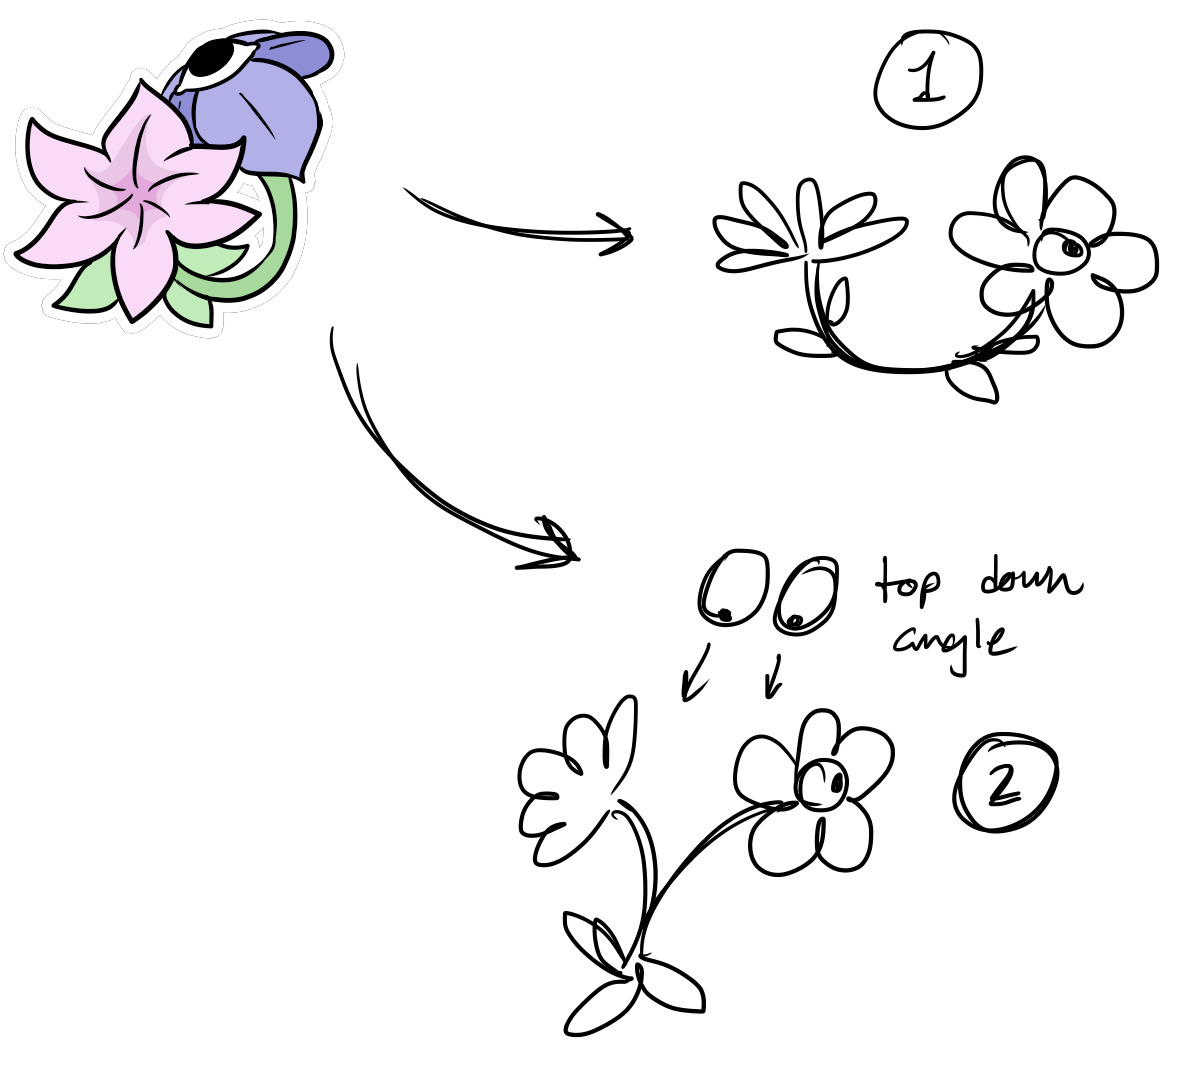
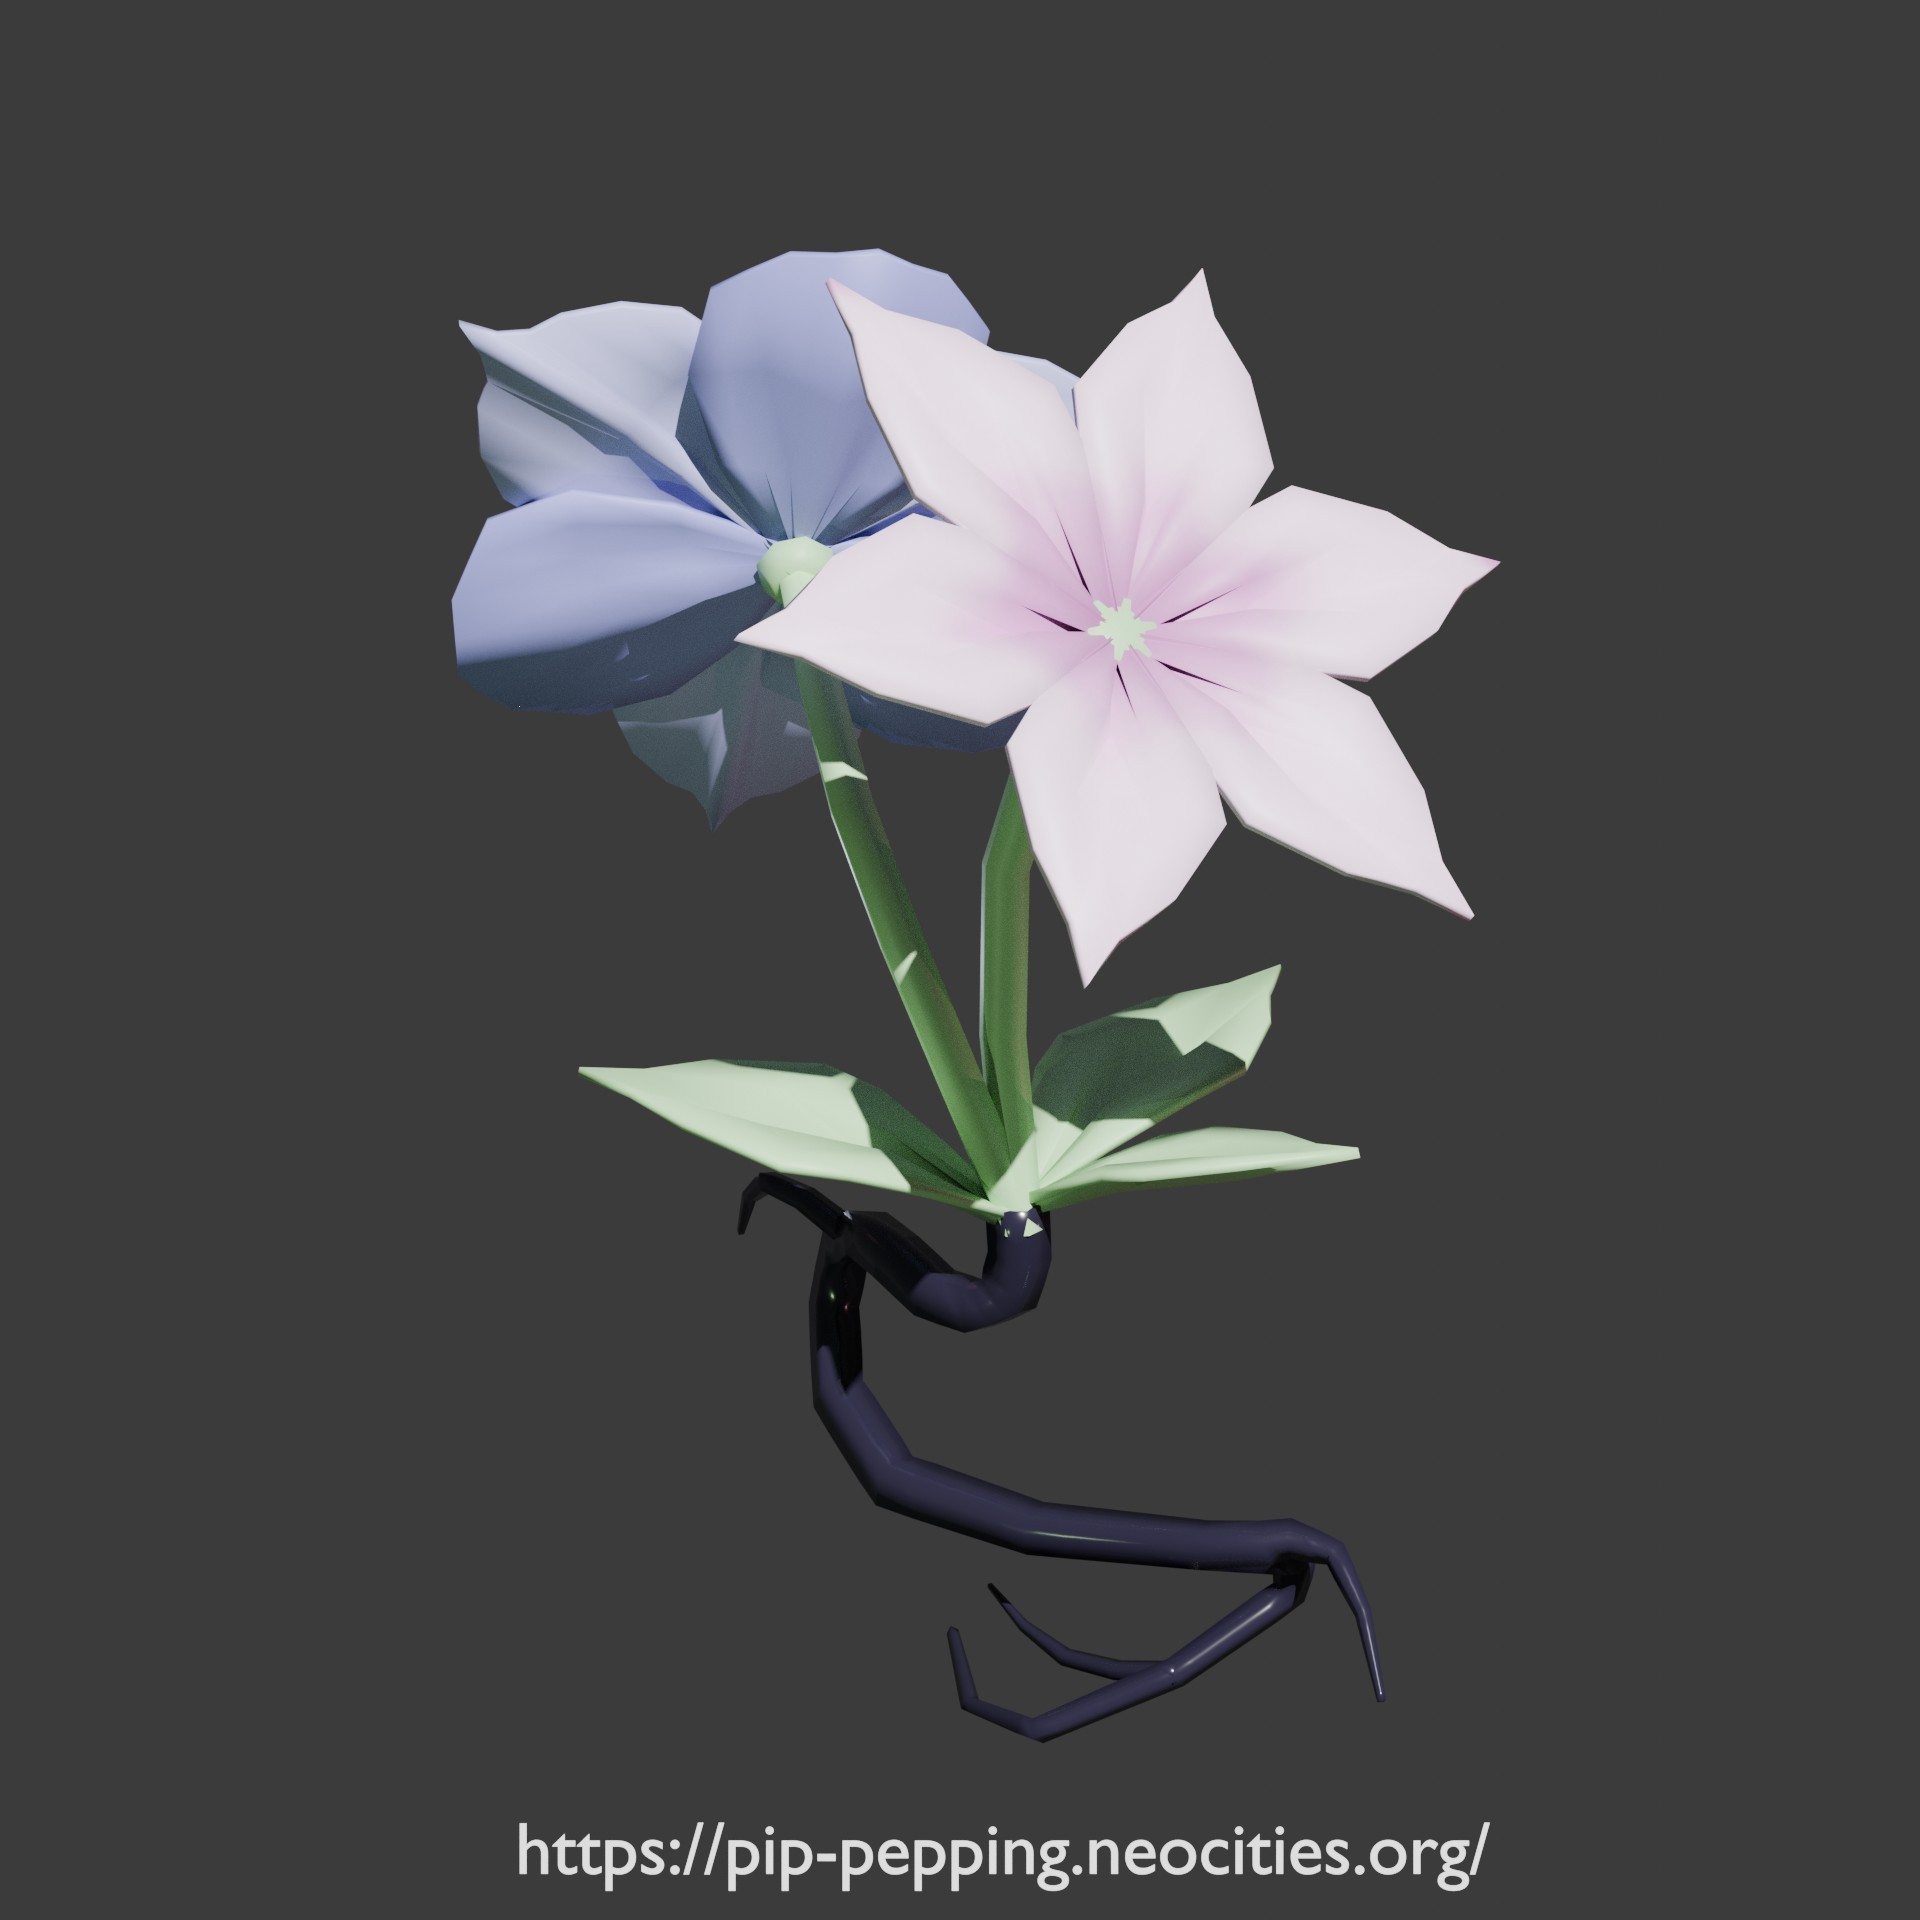
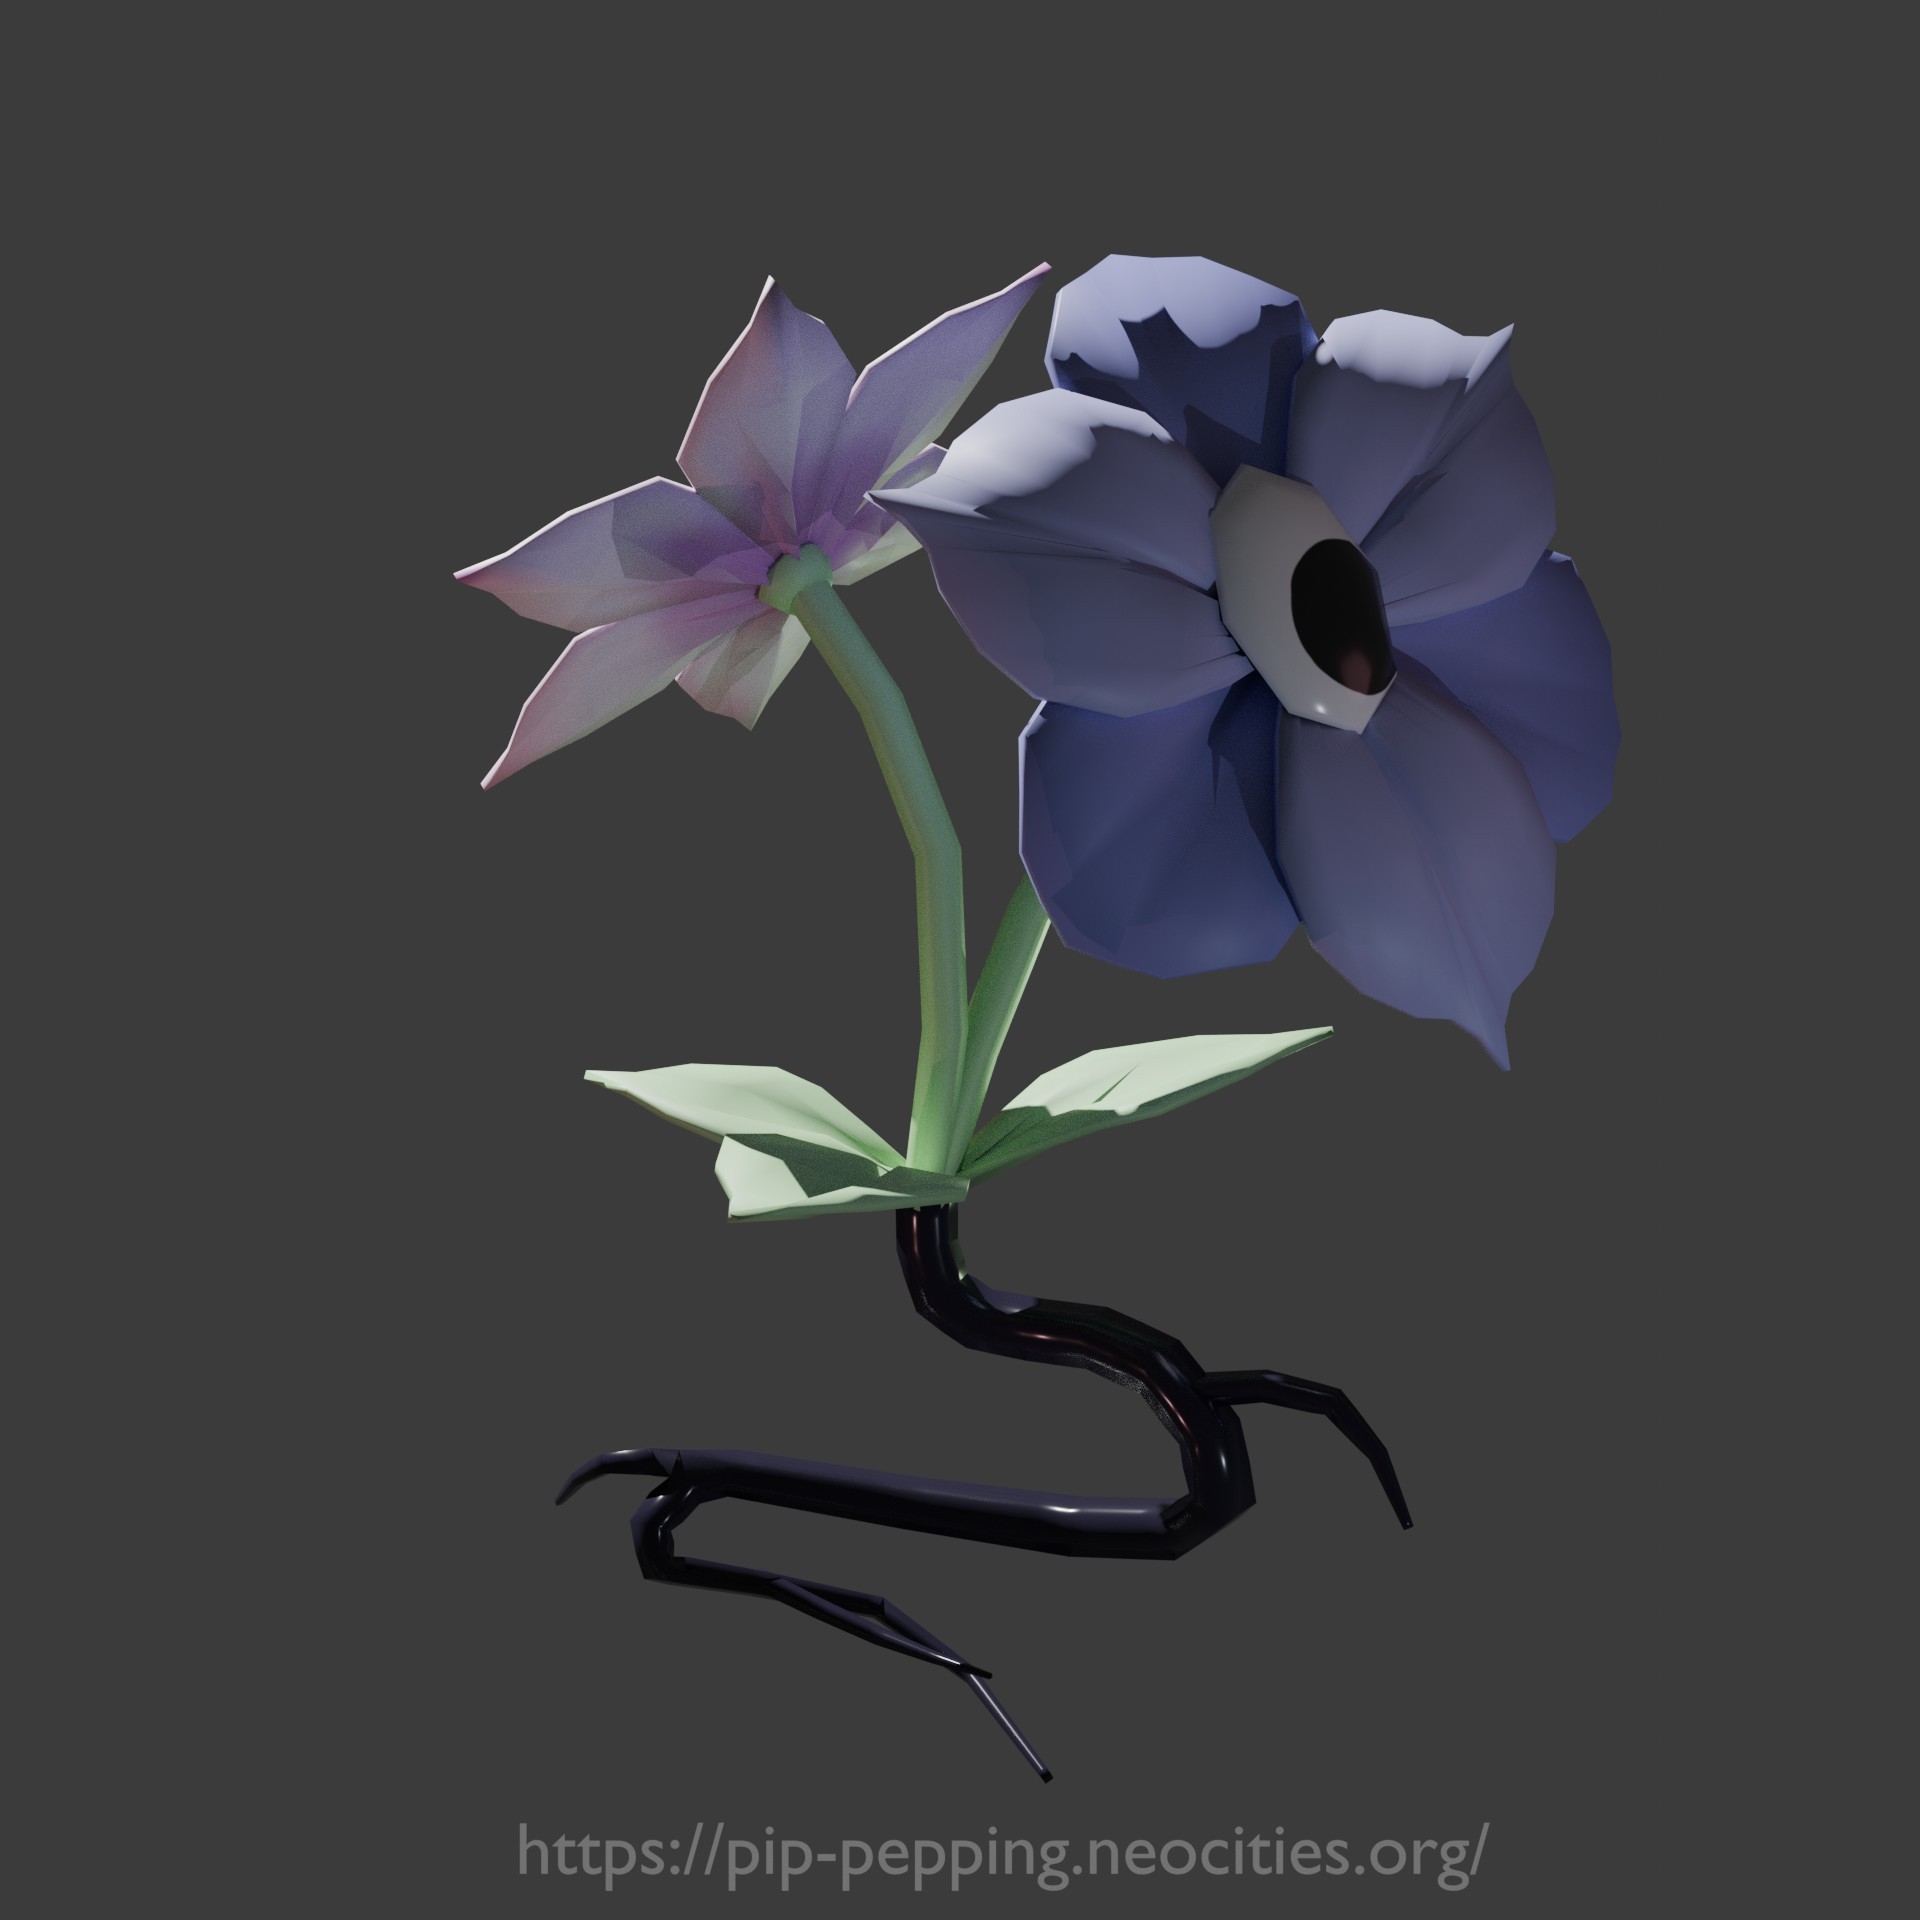
At first, I thought the flowers were connected end to end by the same stem, catdog style. While that would have been easier to model, I feel like it would have looked very silly in 3D, so I went with my other interpretation, which is that the trinket is 2 flowers connected at the base, viewed from the top down. I also added ichor-drenched roots to the design to:
Call back to the conditions to get the trinket (100% research on twisted Bassie, so you could think of it as a flower taken from her basket)
Make the design feel more complete, since it felt weird to have just the plant but no roots that would have attached it to the ground. Plus, including the roots gives it a more brutal nature, as if it was roughly pulled out of the dirt.
Make myself suffer.
When it came to modelling, nothing was particularly hard to model, but troubles arose when trying to keep the model optimized. The petals and leaves posed no issues, but the stems and roots...
To provide context, the way I initially modeled those parts using the skin modifier. Imagine you have a piece of string. What the skin modifier does is that it thickens up that string, and if you make it thick enough you can easily make tube-shaped objects such as stems and roots really easily. The skin modifier is especially strong because you can change the thickness of the "string" at any point (which was good for making the tapered ends of the roots). However, when it comes to optimizing models, the skin modifier tends to produce models which can be more detailed than I'd like.
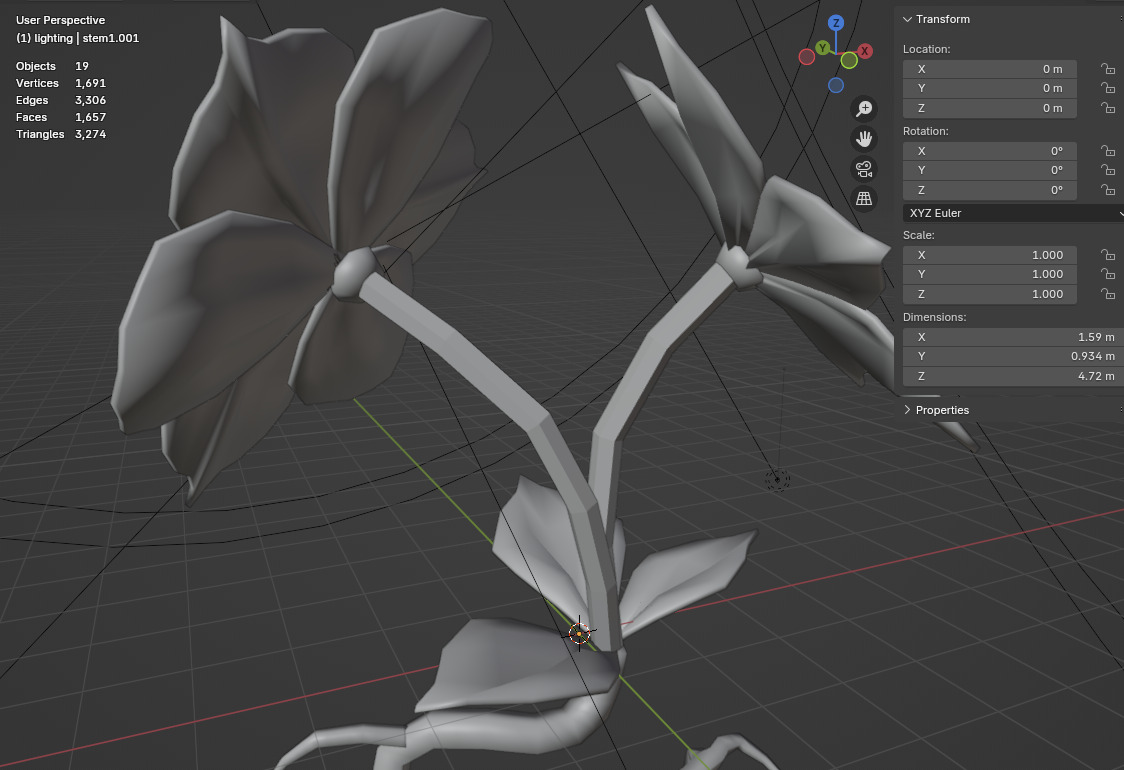
I still ended up using the skin method for the roots, but for the stems, I used curves. Using curves achieves a very similar effect to using the skin modifier, however it offered me better control of how detailed the stems should be.
Pictured below is the different between using the skin modifier and curves. While the skin modifier produces a result that is physically smoother, the curves method produces a result thats a little blocky but is much better in poly count. The curves method is also the one used in the final render, and you probably couldn't tell that it was that blocky thanks to Blender's "shade smooth" option, which I assume is also used in game.

(Click to enhance these screenshots)
Congrats for reading all the way to the bottom! As a reward you get two (2) still renders of this flower.